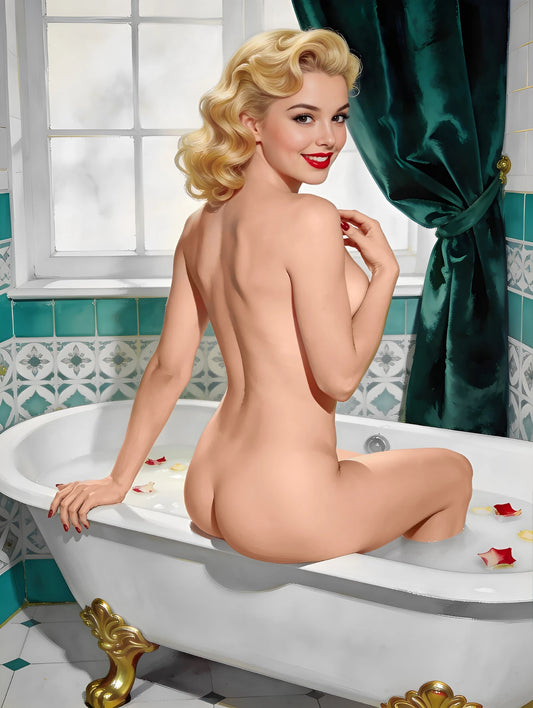
A gallery wall turns individual pieces into a collected story. When pinup art is part of that story, the wall gains confidence, color, and a touch of golden-age glamour. Whether you have one standout custom pin-up portrait or several pieces, a thoughtful arrangement makes the whole display feel intentional rather than random. ✨🖼️
At Pinup Art Studio we create portraits and canvases that work beautifully in gallery-wall settings. Here’s how to plan, arrange, and style a wall that lets your pinup art shine. 🎨
🌟 Start With a Clear Focal Point
Most successful gallery walls have one primary piece that anchors the arrangement. A larger pinup canvas or framed portrait is ideal for this role. Place it slightly off-center or in a position that naturally draws the eye when someone enters the room.
Once the anchor is decided, build supporting pieces around it. Smaller works, complementary colors, or related vintage-inspired prints can complete the composition without competing.
Strong anchor options include the Vintage Pin-Up Framed Canvas, a larger Vintage Pin-Up Canvas, or a statement Custom Pin-Up Art Portrait. 💖
📏 Choose Sizes That Create Rhythm
Mix sizes for visual interest, but keep a sense of order. A common approach is one larger piece, two or three medium pieces, and a few smaller ones.
- Large: 18×24, 20×30, or bigger as the main portrait
- Medium: 12×16 or 16×20 for supporting works
- Small: 8×10 or 11×14 for accents
Too many pieces of the same size can look flat. Too many tiny pieces can feel scattered. Aim for variety with a clear hierarchy. 📐
🖼️ Frame Strategy: Matching vs. Mixing
You have two reliable approaches:
Consistent frames
Using the same color and style of frame across the wall creates a clean, unified look. This works especially well when the pinup art itself has strong variation in color or pose. Black, natural wood, or simple gold frames are popular choices.
Mixed frames
Mixing frame styles can feel more collected and personal, especially if you are combining a pinup portrait with other vintage prints, photographs, or mirrors. Keep one element consistent (for example, all frames in warm metallics or all in wood tones) so the wall still feels cohesive.
Ready-to-hang pieces like the Vintage Pin-Up Framed Canvas simplify the process, while unframed Vintage Pin-Up Canvas options or the Pin-Up Art Poster give you full control over framing.
🧭 Layout Tips That Actually Work
- Lay everything out on the floor first. Step back and adjust until the balance feels right.
- Keep spacing consistent — usually 2 to 3 inches between frames.
- Align the centers of pieces or create a loose rectangular outer shape for a tidy overall impression.
- Hang the center of the main portrait at roughly eye level (about 57–60 inches from the floor).
- If the wall sits above a sofa or console, leave 6–8 inches of breathing room between the furniture and the lowest frame.
A paper template taped to the wall can help you visualize the final arrangement before committing to nails or hooks. ✅
🎨 Balancing Pinup Art With Other Pieces
Pinup art carries strong personality. Surrounding pieces should support rather than compete.
Good companions include:
- Soft abstract or textured works
- Vintage-inspired botanical or typographic prints
- Black-and-white photographs
- Simple mirrors that add light and space
Avoid overcrowding the wall with too many high-contrast or equally dramatic pieces. Let the pinup portrait remain the emotional and visual center.
💡 Lighting and Placement
Good lighting elevates any gallery wall. Soft picture lights, nearby lamps, or well-placed ceiling spots help the colors and details of your custom pinup art read clearly. Avoid direct harsh sunlight that can fade artwork over time.
Popular rooms for pin-up gallery walls include living rooms, bedrooms, dressing areas, hallways, and home offices — anywhere the mood of confidence and classic style feels welcome. 🏡✨
🛠️ Practical Installation Checklist
- Measure the wall and decide the overall footprint
- Choose one anchor pinup canvas or portrait
- Select supporting sizes and frame approach
- Lay the arrangement out on the floor
- Use consistent spacing
- Hang the main piece at eye level
- Step back and refine
These steps prevent the most common gallery-wall frustrations.
❓ Frequently Asked Questions
Q: How many pinup pieces should I include?
One strong portrait is often enough as the focal point. Two or three can work well if the wall is large and the pieces feel related.
Q: Can I mix canvas and poster formats?
Yes. Just keep the framing consistent enough that the different formats still feel like part of the same collection.
Q: What if my wall is small?
Choose one medium-sized pinup portrait and pair it with only one or two smaller supporting pieces. Negative space is your friend on smaller walls.
Q: Should all the art be in the same color palette?
Not necessarily, but a shared mood or temperature (warm tones, soft neutrals, richer jewel tones) helps the wall feel intentional.
Q: Where can I see size and format options?
Browse the 1950s pin-up collection, explore ready-to-hang Vintage Pin-Up Framed Canvas options, or start with a Custom Pin-Up Art Portrait. More details are on the about us page and FAQ page. ⏱️
🚀 Create a Wall That Feels Collected and Personal
A gallery wall built around pinup art combines visual impact with personal meaning. When you choose a clear focal point, vary the sizes thoughtfully, keep spacing consistent, and support the main portrait with complementary pieces, the result feels designed rather than accidental.
Your custom pin-up portraits deserve to be seen and enjoyed. A well-styled gallery wall gives them the stage they need. 💖🎨✨
👉 Ready to start building your wall? Visit Pinup Art Studio and choose your Custom Pin-Up Art Portrait or canvas format today. 🖼️❤️